How Hard Water in London Affects Your Plumbing System
Hard water in London plumbing system issues are a common concern for homeowners dealing with limescale buildup, reduced efficiency, and long-term damage to pipes and appliances. London is known for having some of the hardest water in the UK, which means high levels of minerals like calcium and magnesium are present in the water supply.
While hard water is not harmful to health, it can have a serious impact on your plumbing system over time. From clogged pipes to inefficient boilers, the effects of hard water can lead to costly repairs if not addressed early.
Understanding how hard water in London plumbing system problems develop can help you take preventive measures and protect your home from unnecessary damage.
What Is Hard Water?
Hard water contains high levels of dissolved minerals, mainly:
- Calcium
- Magnesium
These minerals are naturally picked up as water flows through limestone and chalk deposits underground. London’s geology makes it particularly prone to hard water.
LSI Keywords Used:
- limescale buildup
- hard water damage
- plumbing system London
- water hardness UK
- mineral deposits in pipes
Although hard water is safe to use, it can cause significant issues for your plumbing system London homes rely on daily.
Why London Has Hard Water
London’s water supply comes from underground sources that pass through chalk and limestone layers. These natural formations increase mineral content, resulting in hard water.
Because of this, most properties experience:
- Frequent limescale buildup
- Reduced appliance efficiency
- Pipe blockages over time
This makes hard water in London plumbing system issues more common compared to other regions.
Effects of Hard Water on Your Plumbing System
Hard water can gradually damage different parts of your plumbing system. Below are the most common problems homeowners face.
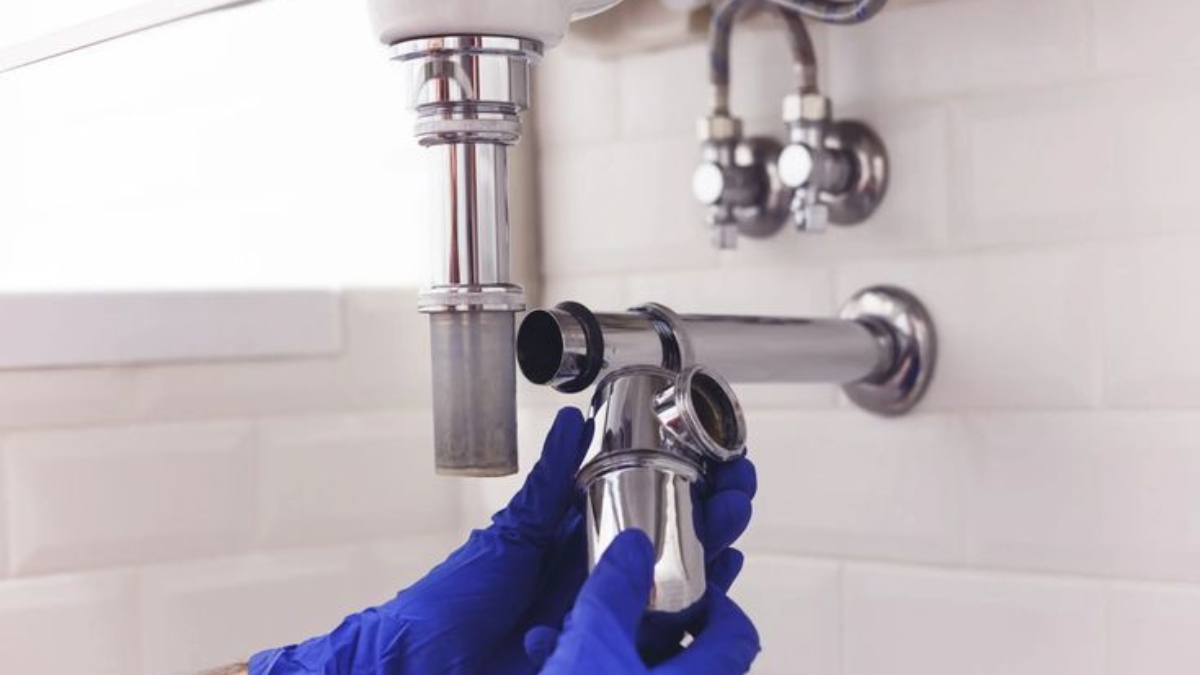
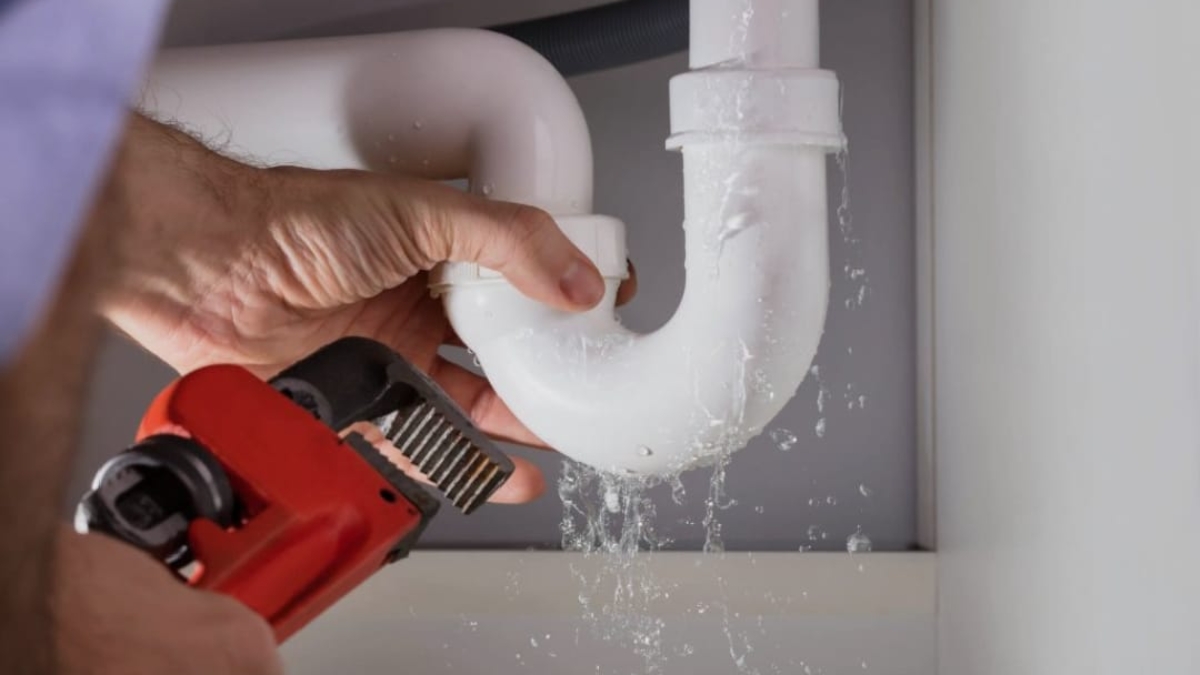
1.Limescale Buildup in Pipes
One of the biggest effects of hard water in London plumbing system is limescale buildup inside pipes.
Over time, mineral deposits accumulate and restrict water flow, leading to:
- Reduced water pressure
- Blocked pipes
- Increased strain on the system
If not treated, this can lead to costly pipe repairs or replacements.
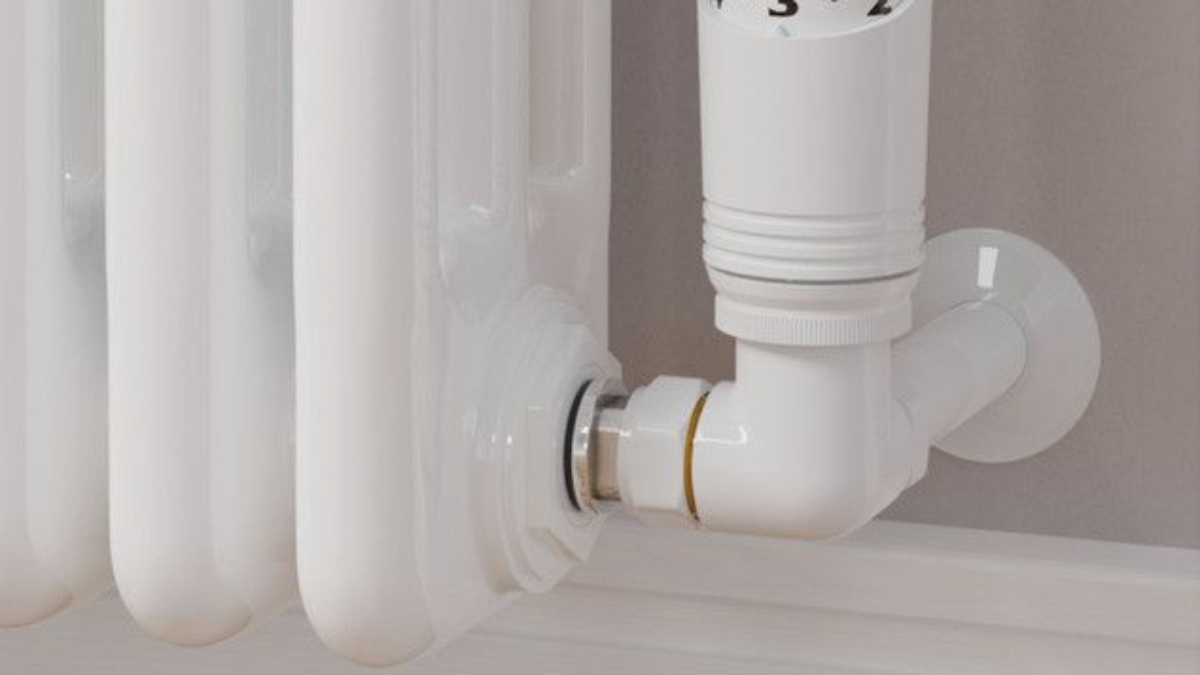
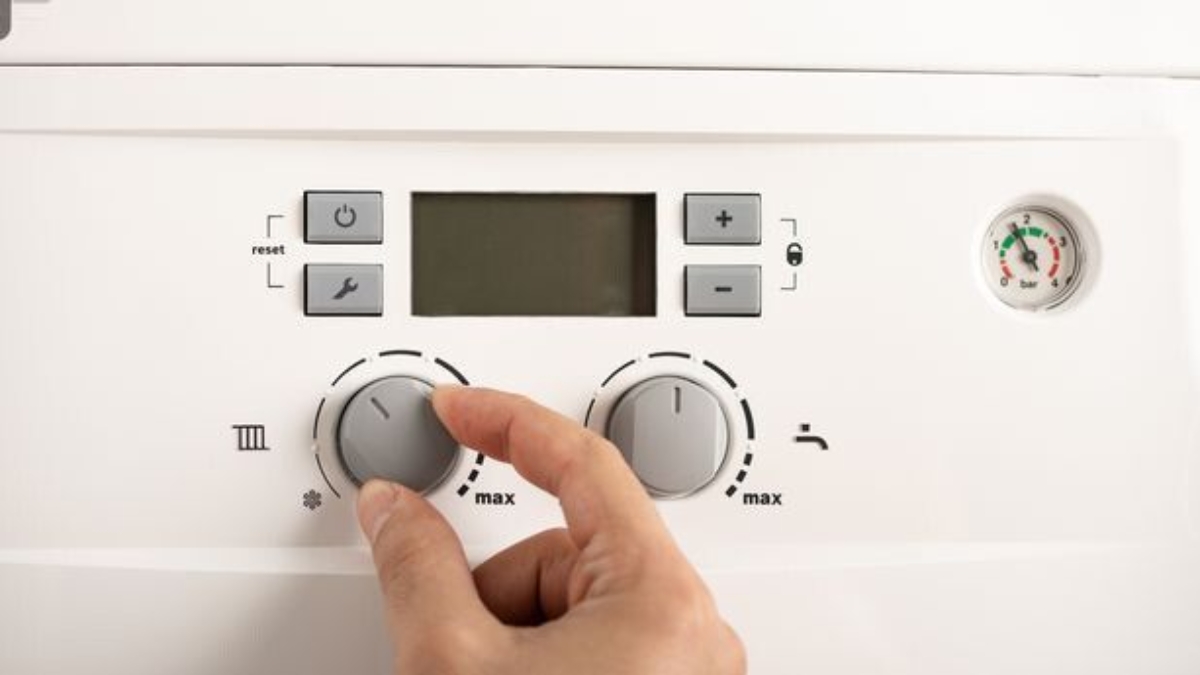
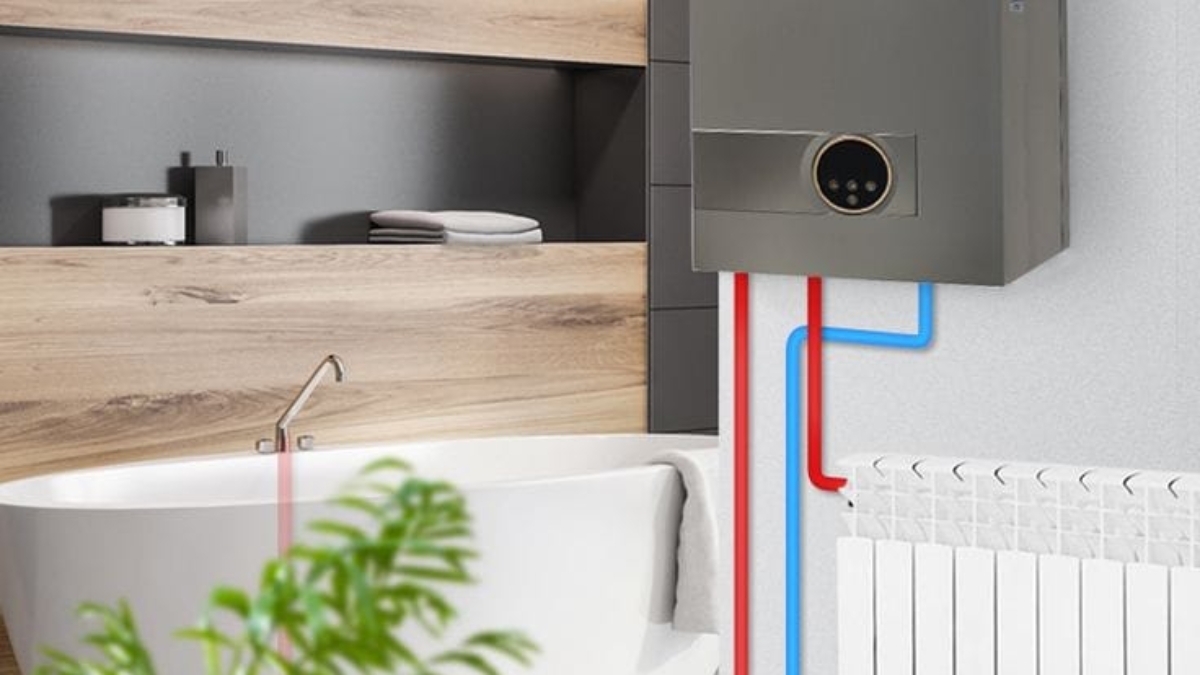
2.Reduced Boiler Efficiency
Boilers are particularly vulnerable to hard water damage. Limescale forms on heat exchangers, making it harder for the system to heat water efficiently.
This results in:
- Higher energy bills
- Slower heating performance
- Increased wear on components
Many cases of boiler repair London are linked to limescale buildup caused by hard water.
3.Damage to Appliances
Hard water can affect household appliances such as:
- Washing machines
- Dishwashers
- Kettles
Mineral deposits reduce efficiency and shorten appliance lifespan.
Common signs include:
- White residue on surfaces
- Longer washing cycles
- Poor cleaning performance
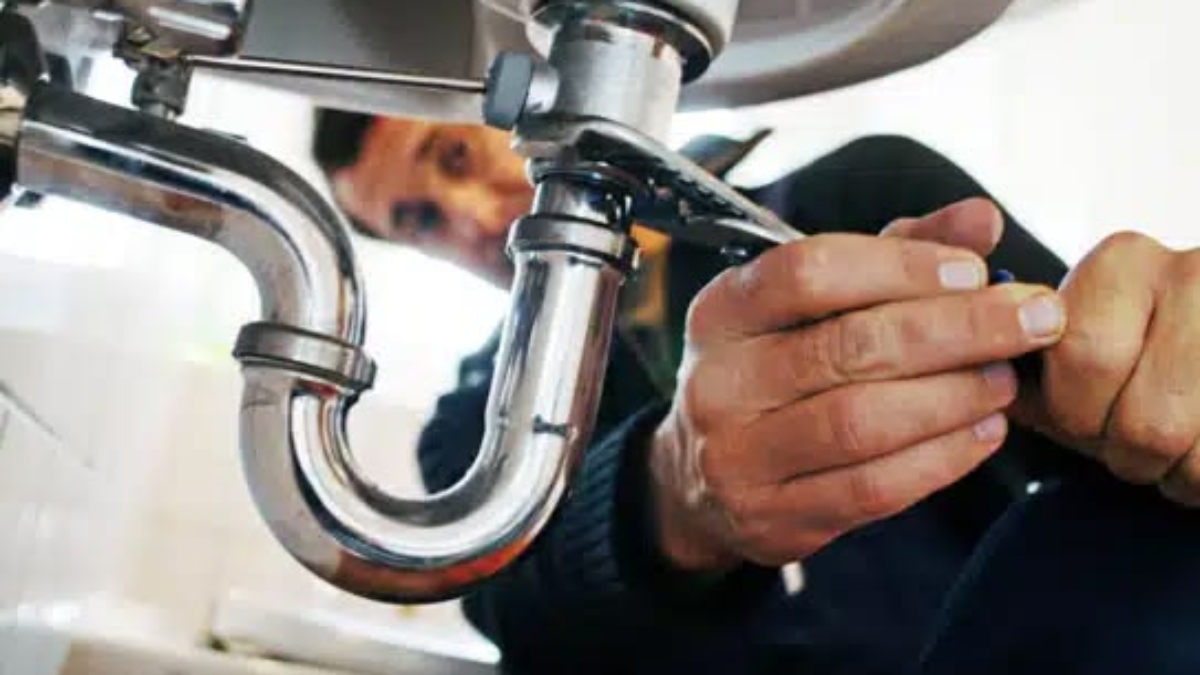
4.Blocked Showerheads and Taps
Mineral deposits can clog small openings in taps and showerheads.
This leads to:
- Uneven water flow
- Reduced pressure
- Visible limescale deposits
Cleaning or replacing fixtures may be required if buildup becomes severe.
5.Soap and Detergent Inefficiency
Hard water reacts with soap, making it less effective.
This results in:
- Soap scum buildup
- Difficulty cleaning surfaces
- Increased use of detergents
This is another common sign of hard water in London plumbing system issues.
6.Increased Maintenance Costs
Because of ongoing mineral buildup, homeowners often face:
- Frequent repairs
- Higher energy bills
- Reduced system lifespan
Ignoring these issues can lead to long-term financial impact.
Warning Signs of Hard Water Damage
Recognising early signs of hard water in London plumbing system problems can help prevent serious damage.
Common warning signs include:
- White chalky residue on taps
- Reduced water pressure
- Strange noises from boiler
- Slow heating performance
- Dry skin after washing
If you notice these signs, your plumbing system may already be affected by hard water.
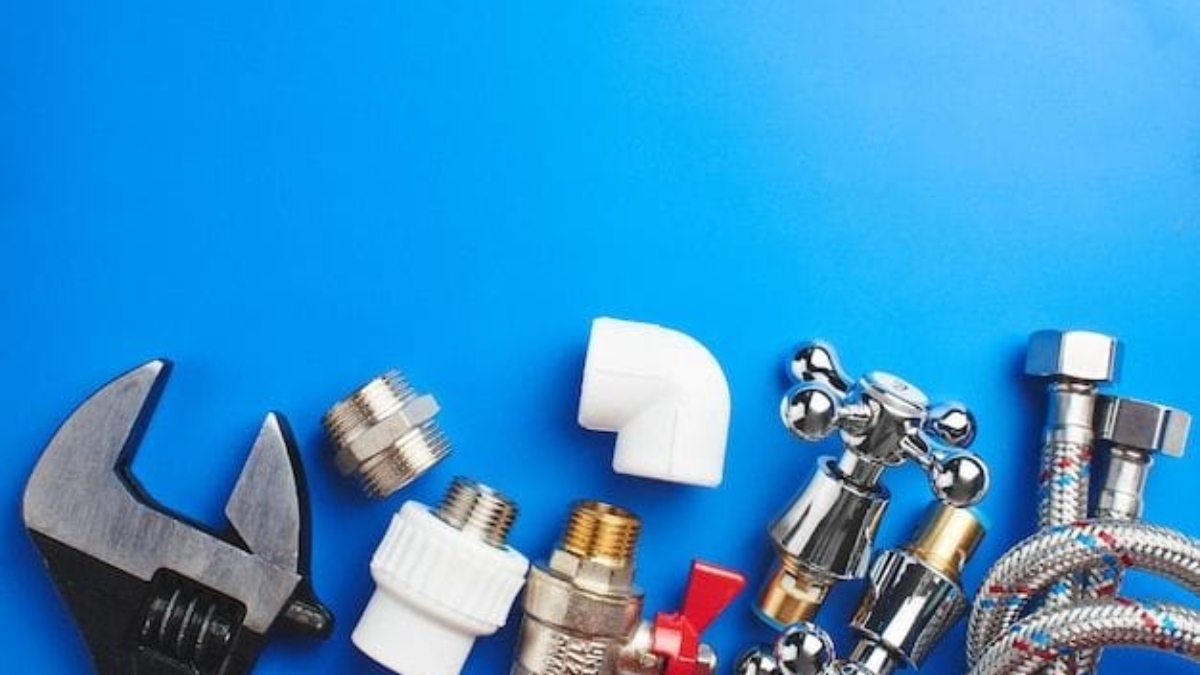
How to Protect Your Plumbing System
There are several ways to reduce the impact of hard water in London plumbing system issues.
Install a Water Softener
A water softener removes calcium and magnesium from the water supply.
Benefits include:
- Reduced limescale buildup
- Improved appliance efficiency
- Longer plumbing lifespan
Use Limescale Inhibitors
These devices help reduce mineral deposits inside pipes and appliances.
They are a cost-effective solution for managing hard water.
Regular Boiler Servicing
Routine servicing helps remove limescale and ensures efficient performance.
Annual maintenance is essential for preventing long-term damage.
Clean Fixtures Regularly
Descaling taps and showerheads helps maintain proper water flow and prevents buildup.
Power Flush Your System
A power flush removes sludge and mineral deposits from your heating system, improving efficiency and circulation.
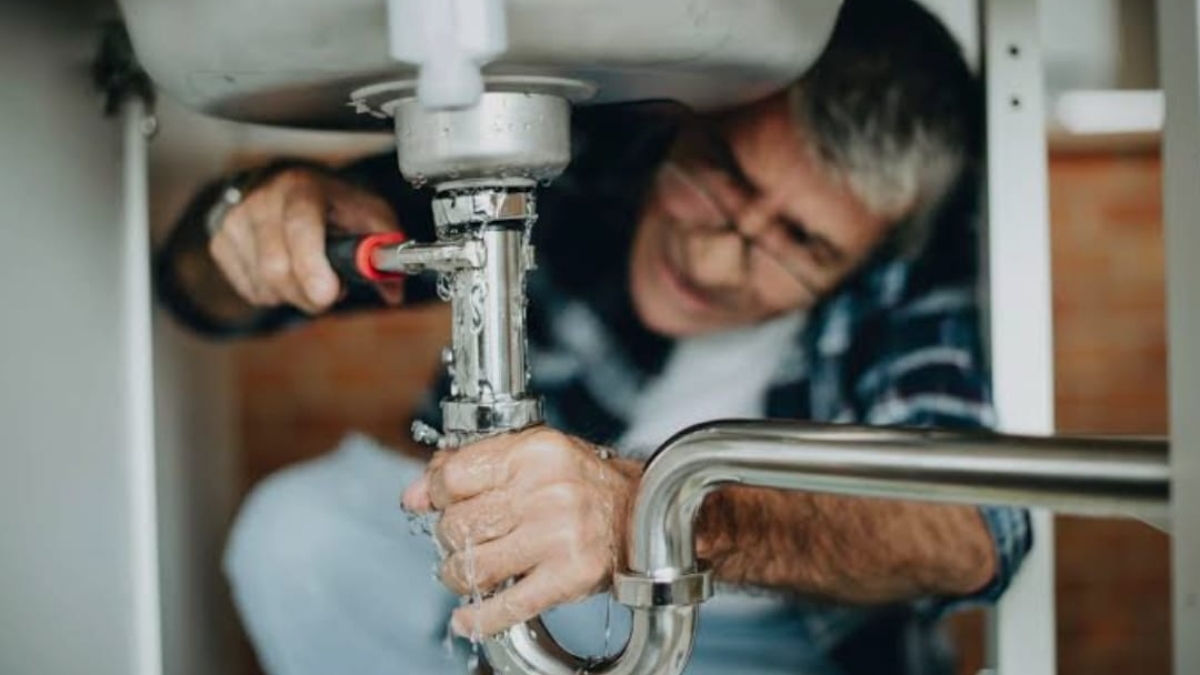
When to Call a Professional Plumber
If hard water has already caused significant damage, professional help is necessary.
You should contact a plumber if you notice:
- Persistent low water pressure
- Frequent boiler issues
- Blocked pipes
- Heavy limescale buildup
Professional plumbers can assess your system and recommend suitable solutions.
Long-Term Benefits of Addressing Hard Water
Taking action against hard water in London plumbing system issues offers several long-term benefits:
- Lower energy bills
- Improved water flow
- Extended appliance lifespan
- Reduced repair costs
- Better overall system efficiency
Investing in prevention can save homeowners from expensive repairs in the future.
Final Thoughts
Hard water in London plumbing system problems are a common challenge for homeowners, but they can be managed with the right approach. From limescale buildup to reduced boiler efficiency, the effects of hard water can impact every part of your plumbing system.
By understanding the causes and taking preventive measures such as installing water softeners and scheduling regular maintenance, you can protect your home and avoid costly repairs.
Addressing these issues early ensures your plumbing system remains efficient, reliable, and long-lasting.
Frequently Asked Questions (FAQs)
Yes, hard water can cause limescale buildup, leading to blockages and reduced efficiency in plumbing systems.
Signs include white residue on taps, low pressure, and limescale in kettles or appliances.
Yes, limescale buildup can reduce efficiency and cause boiler components to wear out faster.
Installing a water softener is the most effective long-term solution.