
Burst Pipe Repair Ealing: Emergency Steps Every Homeowner Should Know
Burst pipe repair Ealing situations can quickly turn into serious emergencies if not handled immediately. A burst pipe can release a large amount of water in a short time, causing damage to walls, floors, and even the structure of your property.
Homes in Ealing, particularly older properties, often have ageing plumbing systems that are more vulnerable to pressure changes, corrosion, and seasonal temperature drops. Because of this, burst pipes are a common issue that requires urgent attention.
Understanding how to respond to a burst pipe and knowing the right steps to take can help minimise damage and reduce repair costs.
Why Burst Pipes Are Common in Ealing
Many properties in Ealing were built years ago and still rely on older pipework. Over time, these pipes can weaken due to corrosion and general wear.
Because of this, burst pipe repair Ealing cases are often linked to ageing systems and lack of maintenance. Cold weather also plays a major role, as freezing temperatures can cause water inside pipes to expand and create pressure.
In addition, high water usage and sudden pressure changes can increase the risk of pipe failure in busy households.
Common Causes of Burst Pipes
Burst pipes rarely happen without a reason. In most cases, they are the result of underlying issues that develop over time.
The most common causes include:
- Freezing temperatures during winter
- Corrosion in older pipes
- High water pressure
- Blockages inside the systemPoor installation or worn joints
Understanding these causes can help prevent the need for burst pipe repair Ealing in the future.
Warning Signs You Should Not Ignore
Burst pipes are often preceded by warning signs. Identifying these early can help you avoid serious damage.
Common signs include:
- Sudden drop in water pressure
- Unusual noises in pipes
- Damp patches on walls or ceilings
- Water pooling on floors
- Unexpected increase in water bills
If you notice these issues, it may indicate developing problems that could lead to a burst pipe.
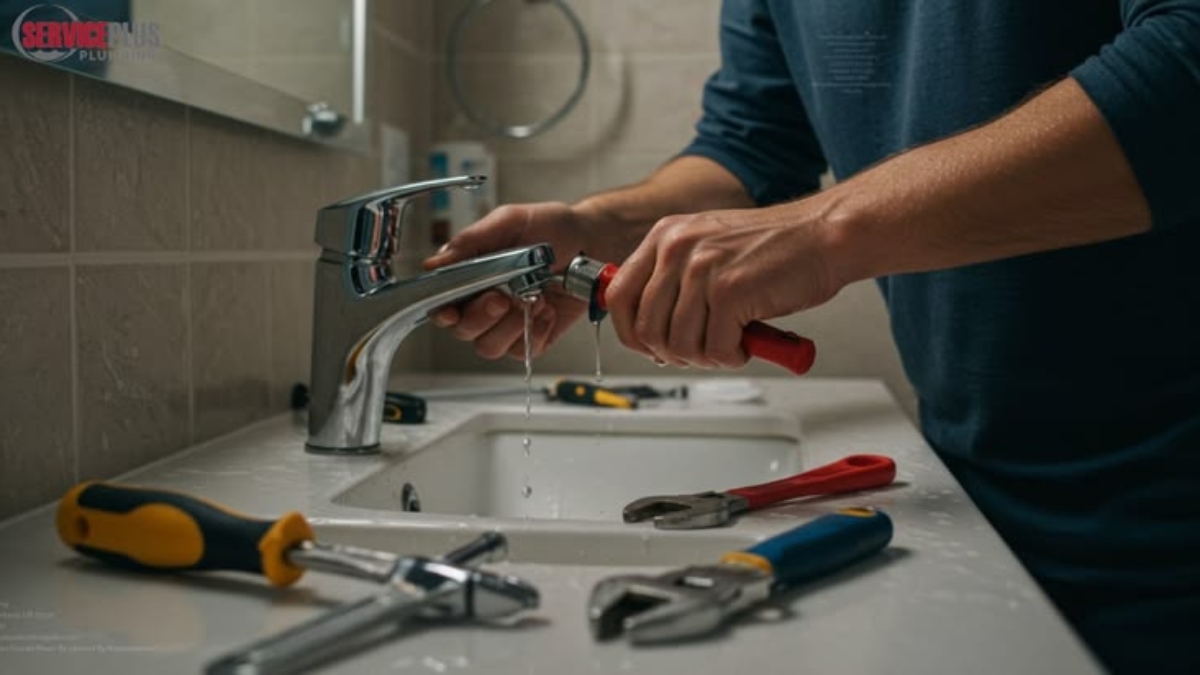
Emergency Steps to Take Immediately
When a pipe bursts, acting quickly is essential to limit damage. Taking the right steps can protect your home before professional help arrives.
Turn Off the Water Supply
The first step in any burst pipe repair Ealing situation is to shut off the main water supply. This prevents further flooding and limits damage.
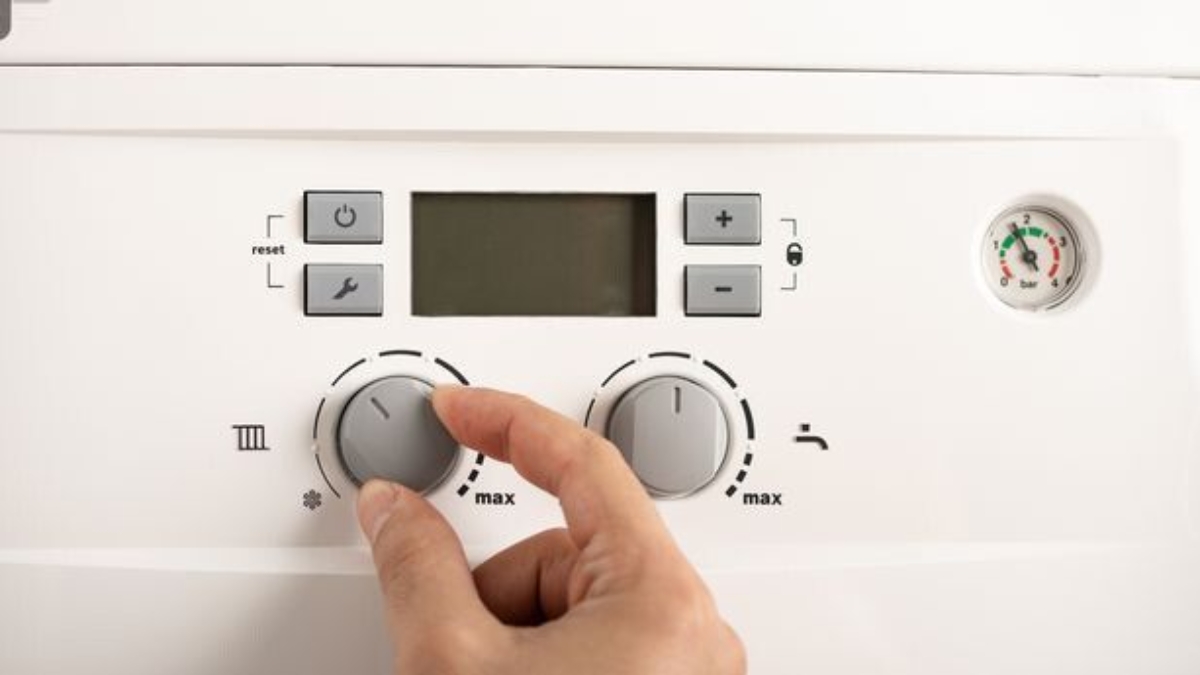
Switch Off Heating System
Turning off your boiler and heating system helps reduce pressure in the pipes and prevents further complications.
Drain the System
Open all taps in your home to drain remaining water from the pipes. This reduces pressure and slows down leakage.
Contain the Water
Use towels, buckets, or containers to control the spread of water. Moving furniture and valuables away from the affected area can also help prevent damage.
Call an Emergency Plumber
Once the immediate risk is controlled, contacting a professional is essential. Expert burst pipe repair Ealing services ensure the issue is properly fixed.
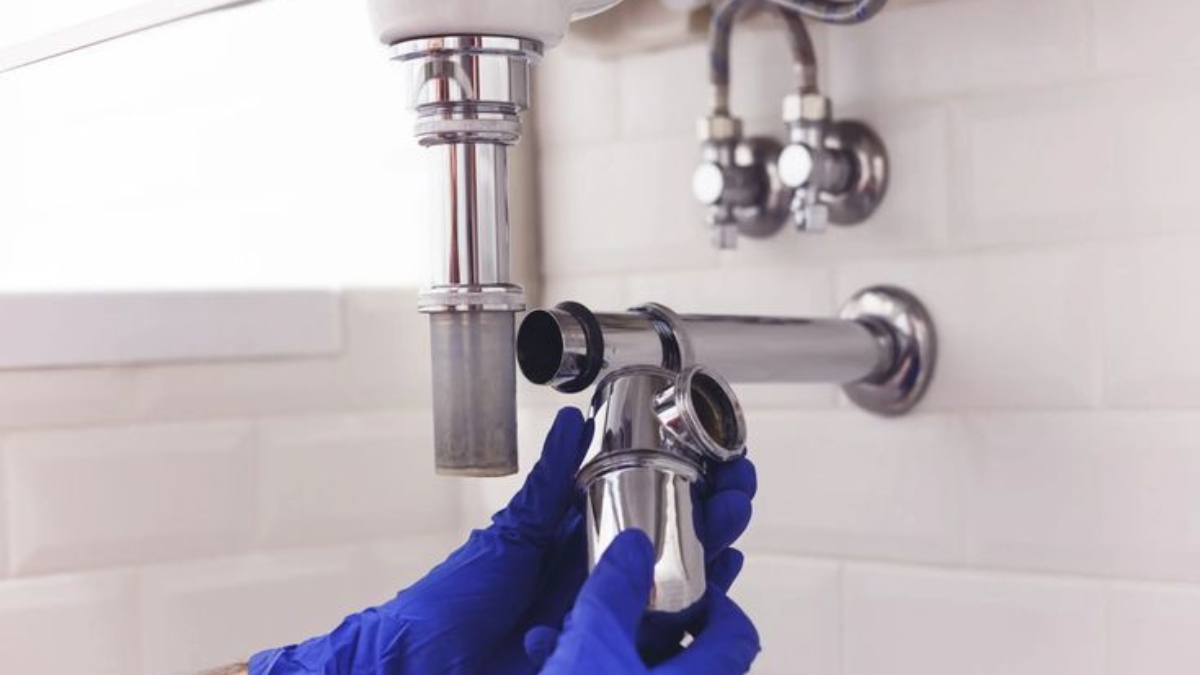
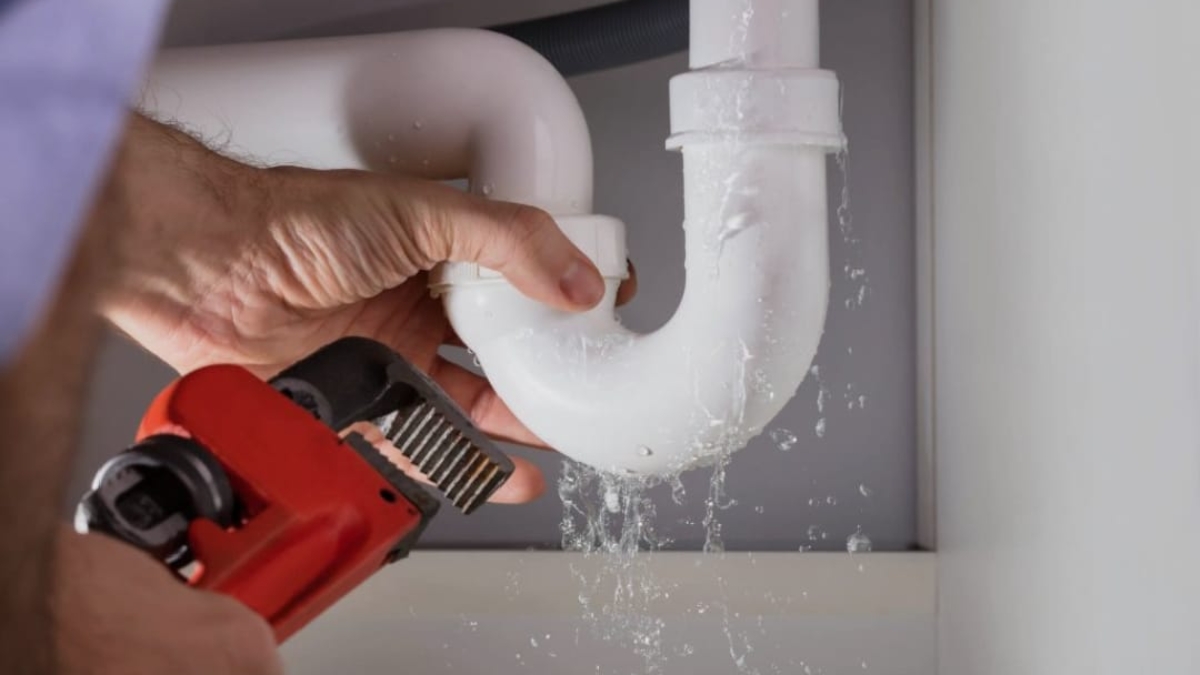
Professional Repair Process
Professional plumbers follow a structured approach to repair burst pipes safely and effectively.
The process usually includes inspection, identifying the damaged section, repairing or replacing the pipe, and testing the system to ensure everything is working correctly.
This ensures that the problem does not return and the plumbing system remains reliable.
Cost of Burst Pipe Repair in Ealing
The cost of burst pipe repair Ealing can vary depending on several factors.
These include the location of the pipe, the severity of the damage, and how accessible the affected area is.
Minor repairs are usually less expensive, while hidden or extensive damage may require more work and higher costs. Emergency call-outs can also increase the overall price.
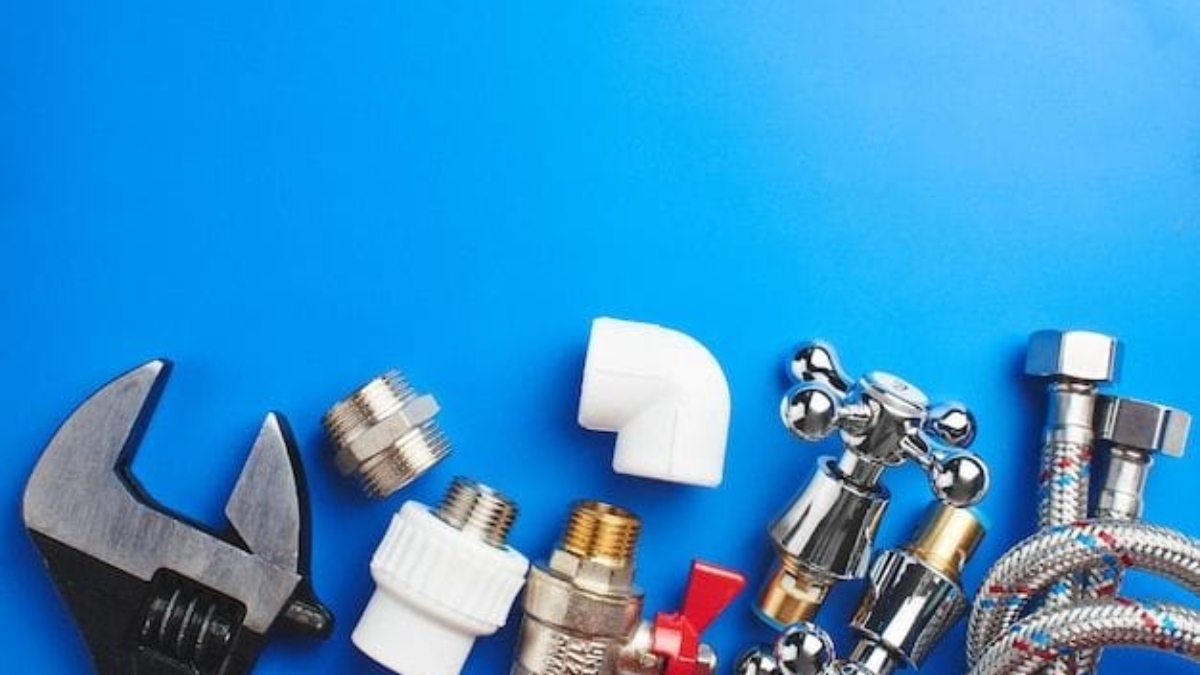
How to Prevent Burst Pipes
Preventing burst pipes is always better than dealing with repairs. Regular maintenance and simple precautions can reduce the risk significantly.
Homeowners can take the following steps:
- Insulate pipes during colder months
- Keep heating on during winter
- Monitor water pressure levels
- Fix minor leaks quickly
- Schedule regular plumbing inspections
These measures can help avoid frequent burst pipe repair Ealing issues.
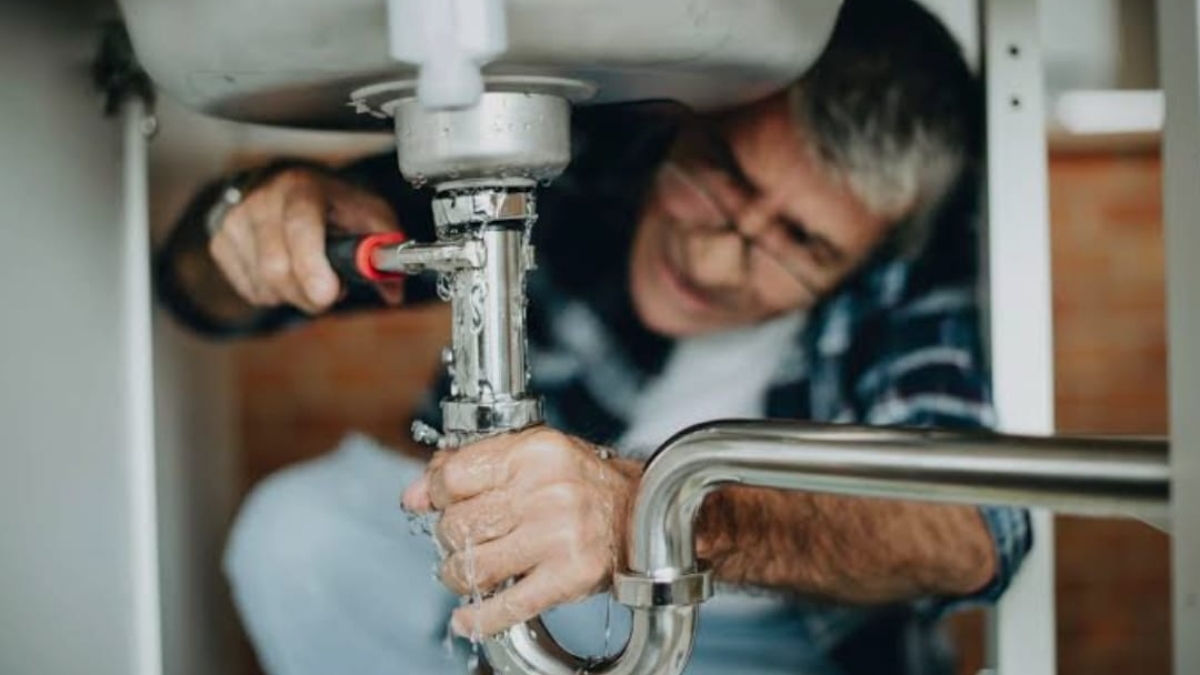
When to Call a Professional Plumber
While some minor plumbing issues can be managed at home, burst pipes require professional expertise.
You should call a plumber if the leak is severe, the pipe is hidden, or water damage is spreading. Professional services ensure the problem is properly diagnosed and repaired.
In urgent situations, an emergency plumber can provide immediate assistance and prevent further damage.
Protecting Your Home from Water Damage
Burst pipes can cause serious disruption, but quick action and proper maintenance can reduce the risk.
Understanding the causes and warning signs of burst pipe repair Ealing situations helps homeowners stay prepared. Taking preventive steps and addressing issues early can protect your property from costly repairs.
Investing in professional maintenance ensures your plumbing system remains efficient and reliable for the long term.
Frequently Asked Questions (FAQs)
Turn off the main water supply immediately and contact a professional plumber.
Common causes include freezing temperatures, corrosion, and high water pressure.
It should be repaired as soon as possible to avoid serious damage.
Costs vary depending on the severity and location of the damage.